Variation Simulation: Mastering the Link Between Stack Height and Magnet Airgap Alignment
Have you ever built something where all the parts seemed perfect, but the final product was a dud? It might have been wobbly, noisy, or just plain didn’t work. This is a huge headache for engineers, especially when making high-tech things like electric motors or sensors. The real problem often hides in tiny, invisible mistakes that add up. This article will show you a powerful computer trick, called variation simulation, that finds these problems before they cost you time and money. We’ll uncover how the height of stacked parts can mess up the most important space in a motor—the magnet airgap—and how you can become a master at controlling it.
Table of Contents
- What’s This ‘Variation’ Thing, Anyway?
- Why Should I Care About Stack Height?
- What is the Magical Magnet Airgap?
- How Do Tiny Part Mistakes Cause Big Problems?
- What Bad Things Happen with a Messy Airgap?
- So, How Do I Predict These Problems?
- A Real-World Story: Saving a BLDC Motor
- What Can I Do With This New Knowledge?
- Got Questions? We’ve Got Answers! (FAQ)
- Key Things to Remember
What’s This ‘Variation’ Thing, Anyway?
Imagine you’re in a factory making thousands of parts. Can every single part be perfectly identical? Nope. It’s impossible. Each one will be a tiny bit different. One might be a hair thicker, another a smidge shorter. This is called manufacturing tolerance or dimensional variation. On its own, one slightly off part might not be a big deal.
But what happens when you assemble a hundred of these slightly different parts? The small mistakes can add up, or “stack up,” into one giant problem. Variation simulation, also called 3D tolerance analysis, is like having a crystal ball. It’s a computer program that lets us build our product thousands of times in a virtual world. It uses the known part variations to predict how the final assembly will turn out. This lets us move from a slow, expensive “build and test” model to a fast, smart “predict and optimize” plan. We can fix problems on the computer, which is a lot cheaper than fixing them on the factory floor.
Why Should I Care About Stack Height?
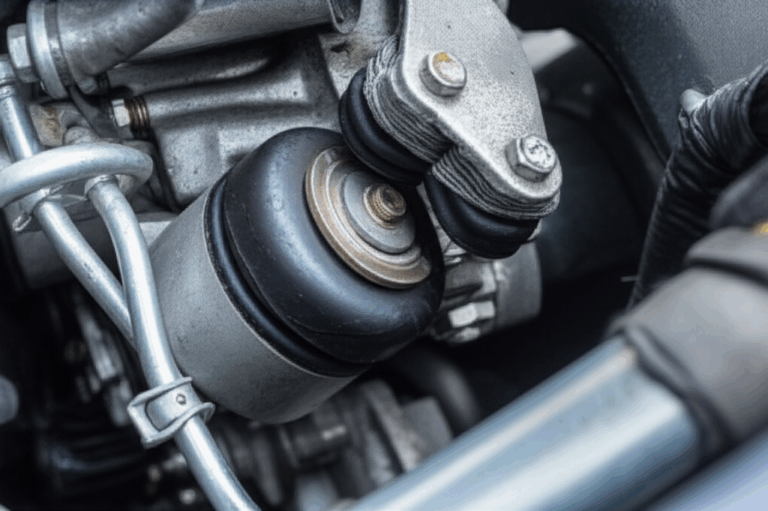
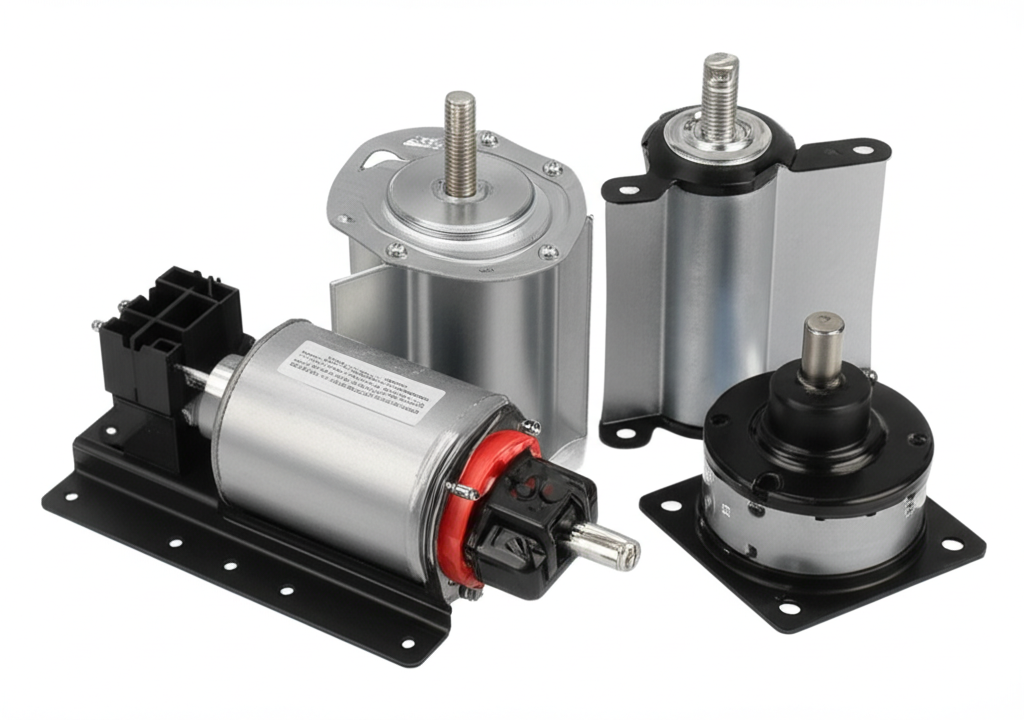
Think about stacking Lego blocks. The final height of your tower is the “stack height.” In an electric motor, we do the same thing. We stack up many different parts: thin metal sheets called laminations, insulators, bearings, and end plates. The final lamination stack height is a critical part of the motor’s structure.
The problem is, each of those parts has its own tolerance. The stack of laminations might be a little too tall. The bearing might be a bit too thick. The housing might be slightly warped. These small changes in the component stack-up directly affect where everything else sits. It’s like building a house on a crooked foundation. Even if the walls are straight, the whole house will be tilted. In a motor, this tilt can cause disaster. It shows how important it is to have high-quality core lamination stacks to begin with.
What is the Magical Magnet Airgap?
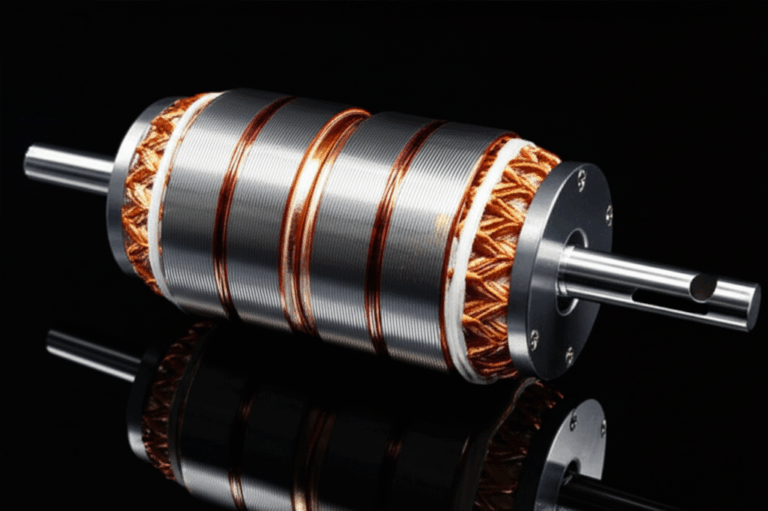
Inside almost every electric motor, there’s a spinning part (the rotor) and a stationary part (the stator). The rotor usually has powerful magnets on it. The tiny, tiny space between the rotor magnets and the stator is called the magnet airgap or rotor-stator airgap. This isn’t just empty space; it’s where all the magic happens! The magnetic field jumps across this gap to make the motor spin.
This airgap has to be perfectly even all the way around. We’re talking about a space that might be thinner than a piece of paper. If the radial airgap (the gap on the sides) is uneven, the motor will run poorly. If the axial airgap (the gap on the ends) is off, you lose power. The quality of the stator core lamination plays a big role in keeping this gap just right. This gap controls everything: the motor’s power, how efficiently it uses electricity, and how much noise and vibration it makes.
How Do Tiny Part Mistakes Cause Big Problems?
Here’s where our two ideas, stack height and airgap, crash into each other. You have a mechanical tolerance chain, where one part’s position depends on the next. A bad stack height doesn’t usually block the airgap directly. Instead, it causes other parts to shift or tilt, which then messes up the airgap. This is the assembly variation that gives engineers nightmares.
For example, imagine the motor housing’s end plate isn’t perfectly flat. This is a stack height problem. When you bolt it on, it forces the bearing to sit at a slight angle. That tilted bearing makes the whole rotor spin with a wobble, like a bent bicycle wheel. This wobble, called shaft runout or rotor imbalance, means the magnet airgap is constantly changing. It gets wider on one side and dangerously narrow on the other. You can see how a single part’s flatness, a contributor to stack height, can ruin the critical airgap alignment.
What Bad Things Happen with a Messy Airgap?
A non-uniform airgap isn’t just a small flaw; it’s a performance killer. The perfect motor is smooth and quiet. A motor with a bad airgap is a clunky beast. This is the “agitate” part of the problem—the real pain it causes.
Here’s a list of the headaches an uneven airgap can cause:
- Cogging Torque: This is a jerky, magnetic “sticking” that happens at low speeds. It makes smooth motion impossible.
- Torque Ripple: Instead of a smooth, steady power output, the motor’s torque “flutters.” This reduces performance and can create annoying vibrations.
- Unbalanced Magnetic Pull (UMP): The magnets pull harder on the side where the gap is smaller. This sideways force puts a huge strain on the bearings, causing them to wear out fast. It also creates a lot of noise.
- Lower Efficiency: The motor has to work harder to overcome these issues, which wastes electricity and creates more heat.
- More Noise and Vibration (NVH): All of these problems create humming, whining, and vibrations that can be a deal-breaker for customers, especially in electric cars or high-end appliances.
So, How Do I Predict These Problems?
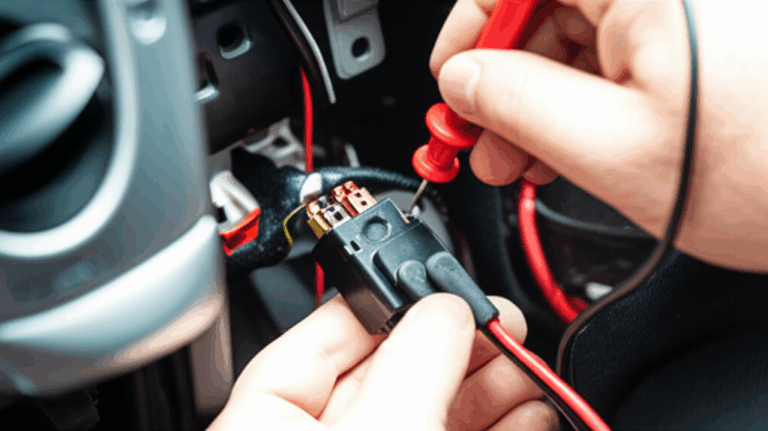
Okay, enough about the problems. Let’s talk about the solution! Using variation analysis software like 3DCS Variation Analyst or CETOL 6σ, we can perform a simulation. This process is a cornerstone of modern dimensional management and Design for Six Sigma (DFSS).
Step 1: Making a Smart 3D Model
First, you need a 3D CAD model of your assembly. But it can’t just be a pretty picture. You need to add Geometric Dimensioning and Tolerancing (GD&T). This is a special set of symbols and rules, like the ASME Y14.5 standard, that tells the simulation exactly how each part can vary. For example, you add a position tolerance to a hole or a profile tolerance to a surface. This makes your virtual model behave just like a real-world part.
Step 2: Choosing Your Superpower: Worst-Case or Monte Carlo?
Next, you choose how to run the simulation. You have two main choices:
- Worst-Case Analysis (WC): This method assumes the worst possible luck. It pretends every single part is at the very edge of its tolerance limit in the worst possible combination. This is used for super critical things, like airplane parts, where failure is not an option. It’s very safe, but often too strict and expensive for most products.
- Monte Carlo Simulation: This is the most common and powerful method. The computer builds thousands of “virtual” assemblies. For each build, it randomly picks a value for each part’s dimension from within its tolerance range, based on a Gaussian distribution (a bell curve). This perfectly mimics a real production run. It gives you a realistic picture of what to expect, like “99.7% of our motors will be within the required airgap spec.”
Step 3: What Do the Computer’s Answers Look Like?
The simulation doesn’t just give you a “yes” or “no” answer. It gives you rich data to make smart decisions. You’ll get a histogram, which is a bar chart showing the distribution of your airgap measurement. You can instantly see how many of your virtual products failed the test.
Even better, you get a sensitivity analysis. This is a ranked list that shows you exactly which part tolerances are causing the most problems. It might tell you that 80% of your airgap variation is caused by just two things: the flatness of the housing and the runout of the bearing. Now you know exactly what to fix! This is much better than guessing.
A Real-World Story: Saving a BLDC Motor
Let me tell you a quick story. An engineering team at a company like Bosch or Nidec Corporation was designing a new BLDC (Brushless DC) Motor. The prototypes kept failing quality control. The torque output was all over the place, and some motors were making a terrible noise. They suspected the airgap was the problem.
Instead of endless trial and error, they ran a Monte Carlo simulation. They defined the measurement they cared about: the minimum radial airgap between the magnets on the rotor core lamination and the stator. They entered all the GD&T for the parts in the stack-up path: the housing, the bearing, the shaft, and the rotor itself.
The simulation results were shocking. It predicted that 7% of their motors would fail the minimum airgap requirement—exactly what they were seeing in production! The sensitivity report pointed a finger at two main culprits: the flatness tolerance on the motor housing’s end-plate and the position tolerance of the bearing bore. These two “stack height” factors were causing the rotor to tilt, ruining the airgap. The fix was simple. They tightened the flatness tolerance on the housing from 0.1mm to 0.05mm. They reran the simulation, and it now predicted a failure rate of less than 0.1%. They fixed a million-dollar problem without cutting a single new piece of metal. This is the power of designing a great bldc stator core with simulation in mind.
| Influencing Factor | Typical Variation | Simulation Method | Observed Impact on Performance |
|---|---|---|---|
| Housing End-Plate Flatness | 0.05mm – 0.2mm | Monte Carlo | A main cause of rotor tilt. Can lead to Unbalanced Magnetic Pull (UMP) and noise. |
| Bearing Runout | 5µm – 15µm | Worst-Case | Directly adds to rotor wobble, increasing torque ripple and vibration. |
| Shaft & Bearing Bore Position | Ø0.02mm – Ø0.05mm | Monte Carlo | Creates a static shift of the rotor, which can increase cogging torque by 5-10%. |
| Magnet Thickness | ±0.05mm | Coupled FEA | Directly changes the magnetic field strength and can affect the motor’s power output. |
What Can I Do With This New Knowledge?
Variation simulation isn’t just about finding problems. It’s about making smarter engineering decisions from the very start. It’s a key part of Design for Manufacturing (DFM).
- Optimize Tolerances: The sensitivity analysis tells you which tolerances are critical. You can tighten those few important ones and loosen the tolerances on non-critical parts. Looser tolerances are much cheaper to manufacture, saving you a ton of money.
- Improve Your Design: Sometimes, the best fix isn’t to tighten a tolerance but to change the design itself. The simulation might show you a better way to locate parts or a more robust design scheme that is naturally less sensitive to variation.
- Guide Your Factory: You can take the sensitivity report to your manufacturing team. It tells them which features need the most careful process control. They can focus their quality checks where it matters most.
Got Questions? We’ve Got Answers! (FAQ)
- What software is used for variation simulation?
Popular tools include 3DCS Variation Analyst (often used with CATIA or Siemens NX), CETOL 6σ (which works with SolidWorks), and other CAD-integrated solutions.
- How is GD&T related to tolerance stack-up analysis?
GD&T is the language you use to describe part variation. A stack-up analysis is the math (or simulation) that calculates the combined effect of that variation. You can’t do a proper 3D simulation without good GD&T.
- Is Monte Carlo better than Worst-Case analysis?
For most products, yes. Monte Carlo is more realistic because it understands that not all parts will be at their worst possible dimension at the same time. It gives you a statistical result, which is better for balancing cost and quality.
- How accurate are variation simulation results?
They can be very accurate, but it depends on the quality of your inputs. If your 3D models are correct and your tolerances reflect what your factory can actually hold, the simulation results will closely match your real-world production yield.
Key Things to Remember
Let’s wrap it all up. Dealing with the link between mechanical stack-up and magnetic airgaps can feel like magic, but it’s just science.
- Tiny Errors Add Up: Small, acceptable variations in individual parts can combine to create huge problems in the final assembly.
- The Airgap is King: In an electric motor, the uniformity of the magnet airgap is critical for performance, efficiency, and noise.
- Stack Height Affects Airgap: Variations in the stack-up of components like housings, bearings, and laminations are a major cause of airgap misalignment, often by causing the rotor to tilt or shift.
- Simulation is Your Crystal Ball: Don’t guess. Use variation simulation tools like the Monte Carlo method to predict how many of your products will fail before you even build them.
- Focus on the Big Problems: Use sensitivity analysis to find the few critical tolerances that cause most of your problems. Fix those, and you can save money everywhere else.