How to Use Orion Motor Tech AC Gauges: A Step-by-Step Guide I Trust in My Own Garage
Table of Contents
- Introduction: Why I Reach for Orion Motor Tech Gauges
- Safety First: What I Wear, What I Watch, and What I Avoid
- Meet Your Gauge Set: Components and What They Do
- Manifold block and valves
- Blue and red gauges
- Red, blue, and yellow hoses
- Quick couplers and service ports
- Refrigerants: R134a vs R1234yf
- Preparation: My Checklist Before I Touch a Port
- Step-by-Step: Connecting the Orion Motor Tech Gauges
- Step-by-Step: Reading Pressures with the Engine Running
- Evacuation: Vacuuming the System the Right Way
- Charging: How I Add Refrigerant Safely and Accurately
- Purging the yellow hose
- Adding liquid with engine off
- Finishing with vapor while running
- Charging by weight vs charging by pressure
- Diagnosing AC Problems with Gauge Readings
- Undercharge and overcharge
- Airflow issues and condenser fan problems
- Restrictions and compressor faults
- Pressure switches and compressor clutch clues
- Disconnecting the Gauges: Clean Break, No Mess
- Maintenance and Storage: Keeping Your Orion Motor Tech Set Honest
- Troubleshooting the Gauge Set Itself
- Quick Notes on Ambient Temperature, RPM, and Vent Temps
- Practical FAQ from My Own Mistakes
- Conclusion: What These Gauges Have Taught Me
Introduction: Why I Reach for Orion Motor Tech Gauges
I bought my first Orion Motor Tech AC manifold gauge set because I wanted a reliable DIY tool that wouldn’t fight me. I needed to read R134a pressures on my daily driver. I also wanted to learn the right way to evacuate and recharge after replacing a leaking O-ring. That tool paid for itself in one afternoon. Since then I’ve used Orion Motor Tech AC gauges to diagnose bad condenser fans, confirm a sticking expansion valve, and help a friend evaluate an R1234yf-equipped car. In this guide I’ll walk you through exactly how I use them. I’ll share the safety habits that stuck. I’ll show you how to connect, read, vacuum, and charge with confidence. If you’re new, don’t sweat it. By the end you’ll know what those high and low readings really tell you.
Safety First: What I Wear, What I Watch, and What I Avoid
I never skip safety. Refrigerant can freeze skin in seconds. Systems run at high pressure. A careless move can blast liquid refrigerant in your eyes.
Here’s how I set the stage:
- Eye protection and gloves. I wear safety glasses and nitrile or mechanic’s gloves.
- Ventilation. I work outside or in a well-ventilated area. Refrigerant displaces oxygen.
- No smoking or open flames. Refrigerants can decompose into harmful gases near high heat.
- Respect the pressure. Never open the high-side valve with a refrigerant source connected while the compressor is running. That’s not a suggestion. That’s a hard stop.
- Know your rules. Professional recovery requires EPA Section 609 certification in the U.S. DIYers should avoid venting and should use recovery equipment if removing charge.
- Secure hoses and couplers. A popped coupler can turn into a high-pressure whip.
Understanding refrigerant hazards matters. Liquid refrigerant causes frostbite. Rapid depressurization can blast oil and dye. Treat the manifold like a loaded tool and you’ll stay safe.
Meet Your Gauge Set: Components and What They Do
Before I chase pressures I like to name the players.
Manifold block and valves
- Blue valve controls the low side. It links the blue hose to the yellow hose when opened.
- Red valve controls the high side. It links the red hose to the yellow hose when opened.
- Center port (yellow) is the service line. I connect this to a vacuum pump or a refrigerant can or tank.
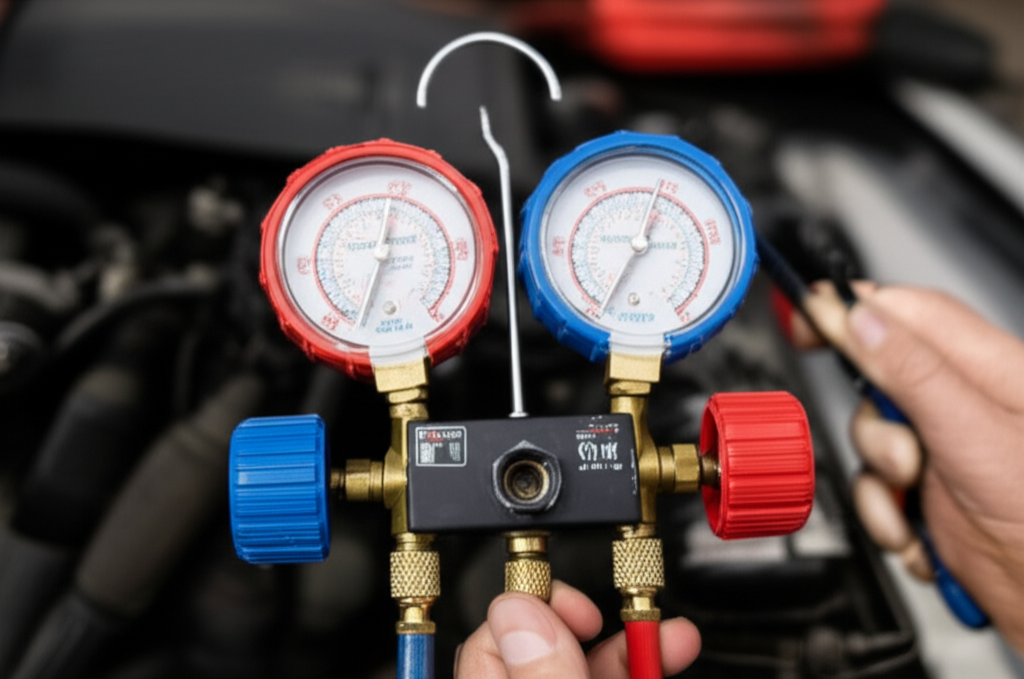
Blue and red gauges
- Blue gauge (low side) shows pressure and vacuum. I read PSI or kPa. Many faces also show saturation temperature scales for common refrigerants like R134a. That helps you cross-check against ambient conditions and vent temps.
- Red gauge (high side) shows discharge pressure. I watch this for condenser and airflow issues, overcharge, and restrictions.
Red, blue, and yellow hoses
- Blue hose goes to the low-side service port.
- Red hose goes to the high-side service port.
- Yellow hose goes to the vacuum pump or refrigerant source. I use it for purging too.
Quick couplers and service ports
- Quick couplers snap on to service ports. Blue coupler fits the low-side port. Red coupler fits the high-side port. They’re keyed differently. You can’t mix them up if you use the right set for your refrigerant.
- Service ports live on the AC lines. The low side sits on the suction line between evaporator and compressor. The high side sits on the discharge line between compressor and condenser or near the receiver/drier.
Refrigerants: R134a vs R1234yf
- R134a is common on older vehicles. The gauge set and couplers are standard for SAE 1/4″ fittings in most manifold kits. The quick couplers are the common R134a style.
- R1234yf is common on newer vehicles. It uses different quick couplers and fittings. You’ll need compatible hoses and couplers. Never mix refrigerants or adapters without the right gear.
- Check your underhood label for the correct refrigerant and system capacity.
Preparation: My Checklist Before I Touch a Port
I gather everything first. It keeps me out of trouble.
Tools I lay out
- Orion Motor Tech AC manifold gauge set with quick couplers
- Vacuum pump for evacuation
- Refrigerant can or tank of the correct type
- Can tap and an electronic scale if I’m charging by weight
- A thermometer for vent temp
- UV dye and a leak detector if I’m chasing leaks
- Rags and a small bottle of soapy water to check connections
- Wrenches for snugging fittings
- Gloves and safety glasses
Vehicle prep
- Park the car on level ground and set the parking brake
- Locate service ports and remove the caps
- Check the compressor clutch and the condenser fan for obvious issues
- Confirm the cooling fans run when AC is on during initial tests
Gauge set inspection
- I check O-rings on hoses and couplers
- I make sure the manifold valves turn smoothly
- I zero the needles if they look off with no pressure applied
- I check that the quick couplers snap and release cleanly
Step-by-Step: Connecting the Orion Motor Tech Gauges
I always connect with the engine off. The system doesn’t surprise me that way.
Follow this sequence:
1) Close both manifold valves. Blue and red should be fully closed.
2) Identify the ports. The low side is the larger diameter line and the port cap is often marked with an “L”. The high side sits on the smaller line and often has an “H”.
3) Snap the blue quick coupler onto the low-side port. Press firmly until it seats and locks.
4) Snap the red quick coupler onto the high-side port.
5) Connect the yellow hose to the can tap or vacuum pump only when you’re ready. For initial pressure checks I leave the yellow hose uncapped but controlled. I don’t open the manifold valves yet.
Step-by-Step: Reading Pressures with the Engine Running
I take initial readings before I decide anything.
Here’s my routine:
- Start the engine and switch the AC to MAX cold with blower on high
- Let it stabilize for 5 to 10 minutes
- Watch that the compressor clutch engages. If it doesn’t, I note even pressures on both sides with the engine on which often means the clutch isn’t pulling in or the system is empty enough that a low-pressure switch has disabled it
- Record both pressures
Typical R134a ballpark at 80°F ambient:
- Low side: about 25 to 45 PSI
- High side: about 180 to 250 PSI
These are rough ranges. High humidity, different system designs, and different ambient temps will shift the numbers. Many Orion Motor Tech gauges have temperature scales for R134a on the dial which helps you sanity-check saturation temperature against ambient and vent temperature. R1234yf tends to run similar suction pressure with slightly different high-side behavior depending on the specific vehicle.
Evacuation: Vacuuming the System the Right Way
If I’ve opened the system or recovered refrigerant I evacuate. Moisture hurts performance and chemicals inside can react with refrigerant oil. A deep vacuum removes moisture and non-condensable gases.
I do it like this:
1) Close both manifold valves. Then connect the yellow hose to the vacuum pump.
2) Ensure both quick couplers are locked on the ports. Double-check.
3) Open both manifold valves fully. Now the vacuum pump can pull through both sides of the system.
4) Switch on the vacuum pump.
5) Watch the blue gauge for inches of mercury (inHg). I aim for 29 to 30 inHg at sea level. If you have a micron gauge use it and aim below 500 microns for best practice. Most DIYers rely on the manifold vacuum reading.
6) Let the pump run for 30 to 60 minutes. Longer for humid days or if the system was open to atmosphere.
7) Close both manifold valves. Turn off the pump. Wait.
8) Perform a vacuum hold test for 30 to 60 minutes. If the needle creeps up you probably have a leak. Find it before you charge. Don’t skip this test. A stable vacuum is your green light.
Charging: How I Add Refrigerant Safely and Accurately
Two rules guide me here. Match the refrigerant type on the underhood label. Charge by weight if possible.
Purging the yellow hose
Before I add refrigerant I purge air out of the yellow hose. Air is the enemy. It shows up as non-condensable gases and inflates your high-side pressure.
I purge this way:
- Attach the can tap to the refrigerant can or connect the yellow hose to the source
- Crack the refrigerant valve slightly to push refrigerant into the yellow hose
- Briefly loosen the yellow hose at the manifold just enough to hiss out air until refrigerant appears. Then snug it back. Keep gloves on
- Now the center hose is full of refrigerant not air
Initial charge with engine off (liquid into vacuum)
- With the system under deep vacuum and both manifold valves closed connect the yellow hose to your purged refrigerant source
- Open the low-side valve slowly to allow liquid refrigerant to flow into the system under vacuum
- The gauge will rise as the system equalizes
- I don’t open the high-side valve for this. Low side only
- Once the initial charge stops equalizing I close the low-side valve
Final charge with engine running (vapor into suction)
- Start the engine and set AC to MAX again
- Keep your can upright if you want to feed vapor. If your instructions recommend liquid feed through a can with a metering device use caution and only into the low side. Many DIYers finish with vapor to avoid slugging the compressor
- Slowly open the low-side valve and monitor the low-side pressure and vent temperature
- Add refrigerant in short bursts and give the system time to stabilize before adding more
- Never open the high-side valve with a can or tank connected while the compressor is running
Charging by weight vs charging by pressure
I prefer charging by weight. The underhood label shows capacity in ounces or grams. An electronic scale lets me add the exact amount. Charging by pressures and vent temps can get close but it’s less precise. A 1 ounce overcharge can bump high-side pressure more than you expect. Precision keeps you out of the red zone and helps the expansion valve or orifice tube do its job.
Diagnosing AC Problems with Gauge Readings
This is where the gauges earn their keep. I look at both needles together and I think about airflow, metering devices, and compressor health.
Undercharge
- Both sides read low. Cooling feels weak. The low side might hover under 25 PSI. High side might sit well below 150 PSI on a warm day
- The system likely has a leak. Dye or an electronic leak detector helps you find it. Check near fittings, the compressor front seal, the condenser bottom seam, and the evaporator drain if you smell sweet oil
Overcharge or air in the system
- Both sides read high. Low side rides higher than normal and high side climbs. The condenser fan may cycle at full tilt. Cooling often suffers at idle
- This can mean too much refrigerant or non-condensable gases. It can also mean airflow is weak
Airflow and condenser issues
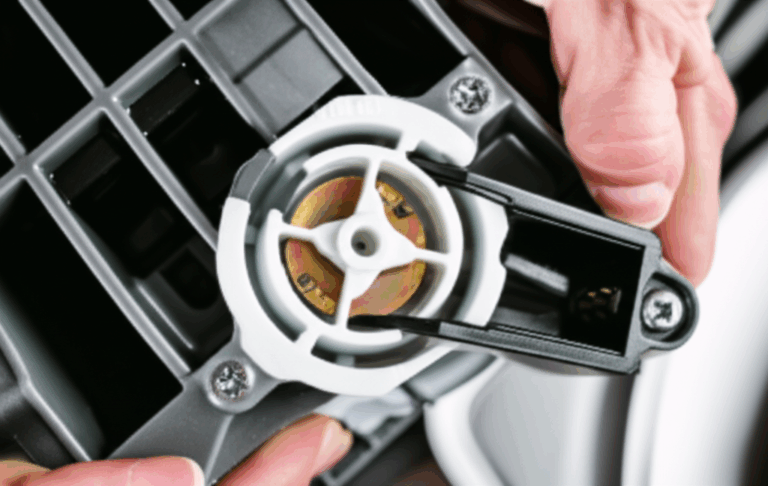
- High high-side pressure with a normal to slightly high low side often points to poor condenser cooling. I check the condenser fan and radiator fan. I blow out debris from the fins. I look for bent fins and bug mats. If the fan motor is weak or the fan isn’t spinning at AC command high-side pressure climbs fast at idle
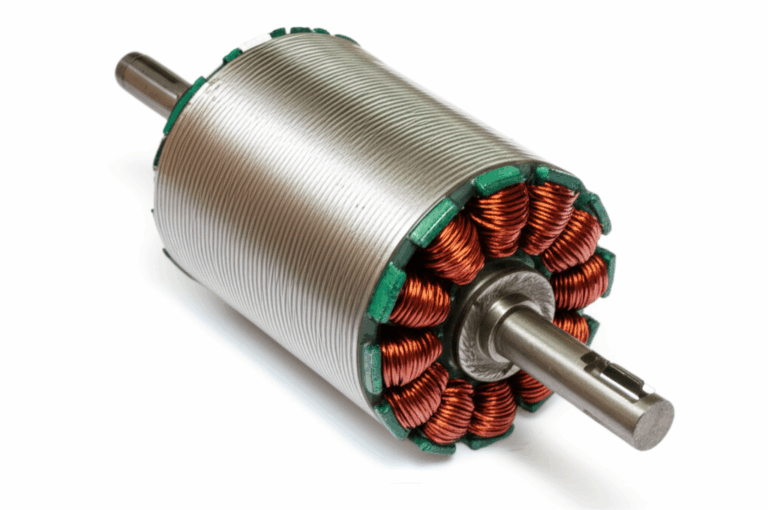
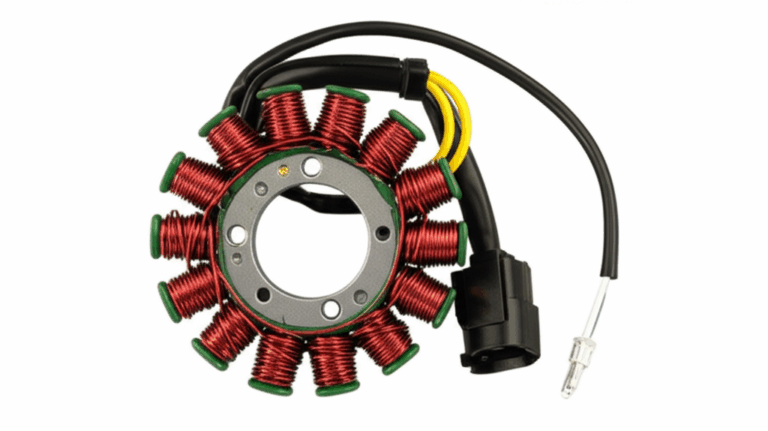
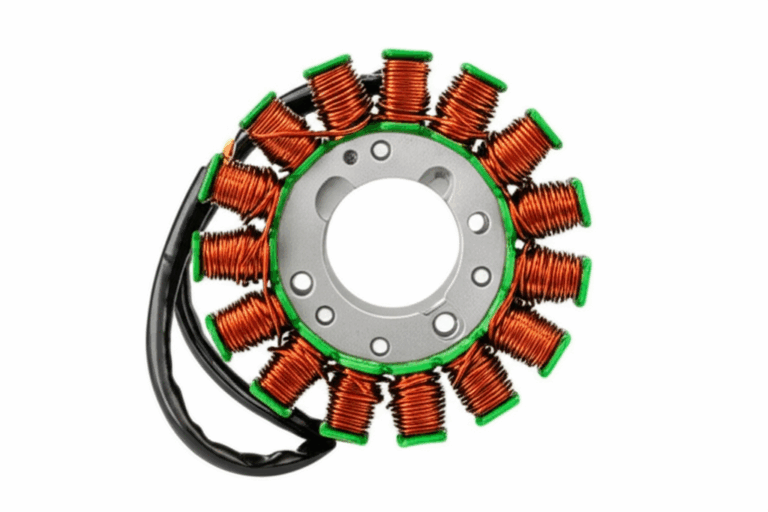
- Small side note that may save you time. Electric motors in cooling fans rely on efficient magnetic cores. Poor stator or rotor laminations can reduce torque which shows up as a fan that spins but doesn’t move enough air. If you’re geeking out on motor internals and how laminations reduce eddy currents these resources help: stator core lamination, motor core laminations, and electrical steel laminations
Restriction in the expansion valve or orifice tube
- High high-side and very low low-side pressure scream restriction. The evaporator may be starving. You might see frost before the restriction. I’ve pulled orifice tubes packed with glitter from dying compressors. If you suspect a TXV issue watch for a starved low side and erratic low-side needle
Compressor weakness
- Low high-side pressure and a higher-than-expected low side can indicate a tired compressor that can’t make the pressure differential. Listen for noise and check the clutch engagement
- If the clutch cycles rapidly with low charge that’s normal. If it cycles with adequate charge and normal pressures check pressure switches and control logic
Equalized pressures with engine on
- If low and high match with the engine running and the AC commanded on the compressor isn’t pumping. The clutch may not engage. The fuse, relay, low-pressure switch, or a control module may have cut it off. Confirm power and ground at the clutch if you’re comfortable with electrical checks
Pressure switches and sensors
- Many systems have high-pressure switches that disable the compressor around dangerous thresholds. If your high side hits the sky the system may cut out. That’s a symptom to respect not a trigger to force the compressor on
Disconnecting the Gauges: Clean Break, No Mess
I disconnect in this order to keep it tidy:
1) Close both manifold valves
2) Shut off the engine if I was running it
3) Remove the low-side coupler by pulling up the collar and lifting off. A small hiss is normal
4) Remove the high-side coupler
5) Cap the service ports. Don’t forget the caps since they also help seal Schrader valve seepage
6) Recover or store any residual refrigerant in the hoses if you have recovery equipment. Don’t vent
Maintenance and Storage: Keeping Your Orion Motor Tech Set Honest
A clean set stays accurate longer. I keep it simple.
- Wipe hoses and couplers after use. Oil attracts grit
- Check O-rings and replace if they look nicked or flattened
- Keep the gauges in the case to protect the needles
- Don’t leave the manifold under load or in direct sun. Heat can skew readings
- If a gauge doesn’t return to zero at rest I re-zero it if the design allows or consider calibration or replacement
Troubleshooting the Gauge Set Itself
Leaking connections
- If I see bubbles with soapy water at a fitting I snug it gently. Don’t overtighten
- If a quick coupler hisses or fails to seal I inspect the internal seal and the Schrader valve in the service port
Inaccurate readings
- Compare with a known-good set if you can. A bent needle or internal damage can throw you off
- If the blue gauge reads above zero with no pressure applied it needs zeroing or service
Sticking valves
- Valves should open and close smoothly. Grit can jam them. I cycle them a few times and clean exterior threads. If they drag I service or replace the seals
Quick Notes on Ambient Temperature, RPM, and Vent Temps
Ambient temperature matters. The hotter the day the higher your high-side pressure climbs. The condenser must shed more heat. On a cool morning you’ll see lower pressures.
Engine RPM matters too. Many systems show lower low-side pressure at a fast idle since the compressor pumps more efficiently. I often check at 1,500 RPM if I want a consistent reading when diagnosing poor cooling at idle.
Vent temperature ties it all together. With a stable charge and good airflow you should see vent temps roughly 35 to 50°F below ambient in many systems. Humidity affects this. If the vents stay warm while pressures look normal check blend doors and cabin filters.
Practical FAQ from My Own Mistakes
How do I identify the low and high service ports
- The low side sits on the larger diameter line and often wears a blue or black cap. The high side sits on the smaller line and often has a red cap. The quick couplers are keyed differently to prevent cross-connection
Do Orion Motor Tech gauges work with both R134a and R1234yf
- The manifold works with whichever fittings and hoses it supports. Many Orion Motor Tech kits target R134a with R134a couplers. If you need R1234yf you’ll need the correct couplers and possibly different hoses. Don’t jam adapters that don’t belong together
What’s a vacuum hold test
- After you pull a deep vacuum you close the manifold valves and shut the pump off. Watch the blue gauge. If the needle rises over 30 to 60 minutes the system is pulling in air which means a leak. Find it before charging
How do I purge the yellow service hose
- Slightly pressurize the yellow hose with refrigerant then crack the fitting at the manifold until refrigerant displaces the air. Tighten it back up. Wear gloves and eye protection
Should I charge by weight or by pressure
- Charge by weight if you have a scale and access to the exact capacity spec. Pressure charging can work but it’s less accurate which risks overcharge. I prefer weight for a clean result
Can I open the high-side valve during charging
- Not with a can or tank connected while the compressor is running. That’s dangerous. I leave the high side closed during charging and I feed refrigerant through the low side only
What are typical R134a pressures
- At around 80°F ambient many systems land around 25 to 45 PSI low side and 180 to 250 PSI high side. Designs vary. Humidity and airflow change the picture. Use this as a starting point not a law
How do I interpret a fluctuating low-side needle
- It can indicate air in the system, a metering device that’s hunting, or a compressor clutch that’s cycling too fast. Check charge level and airflow first then look at the metering device and clutch control
Should I use dye or nitrogen for leak testing
- I use dye when I want to find slow leaks over time. I use nitrogen when I want a pressure test without refrigerant since it’s dry and safe. Many pros combine nitrogen with a trace of refrigerant for electronic detection
Conclusion: What These Gauges Have Taught Me
My Orion Motor Tech AC gauges taught me to slow down and trust the basics. Connect cleanly with the engine off. Read pressures with a stabilized system. Respect refrigerant type and capacity. Pull a real vacuum then prove it with a hold test. Charge through the low side and avoid shortcuts. Most of all interpret the gauges as a story not just numbers. Low suction and high discharge tell you about metering and airflow. Matching pressures tell you about clutch and control. Sky-high discharge tells you about overcharge and airflow around that condenser.
When you follow that rhythm you stop guessing. You diagnose. You avoid overcharging which protects the compressor. You spot a weak condenser fan before you melt the hoses. You respect the safety rules which protects you.
I keep my Orion Motor Tech manifold clean. I check O-rings and caps. I store it in the case. It’s ready when the next hot day exposes a weak AC somewhere in the family. With a methodical approach and a little patience you’ll get the same results. You don’t need luck. You just need good habits and a gauge set you trust.
Step-by-Step Reference Summary
- Safety on, engine off, valves closed
- Connect blue to low side and red to high side
- Start engine and AC on MAX for initial readings
- Diagnose with ambient temp and airflow in mind
- If servicing, evacuate to 29–30 inHg and hold
- Purge yellow hose and charge the correct refrigerant
- Initial charge with engine off then finish with vapor running
- Charge by weight if possible for accuracy
- Close valves, disconnect low then high, cap the ports
- Maintain and store the gauges
Once you run through this process a couple of times it becomes second nature. You’ll read the needles like a mechanic reads a stethoscope. The AC will thank you at the next traffic light when the vents blow cold instead of lukewarm.
Internal links used in this article: