How to Test a Stator for Spark (DIY Guide for Small Engines & Motorcycles)
- Table of Contents
- How to Test a Stator for Spark (DIY Guide for Small Engines & Motorcycles)
- What is a stator and why does it matter for spark?
- What signs point to a bad stator?
- What tools do I need to test a stator?
- What safety steps should I take first?
- What quick checks should I do before testing the stator?
- How do I test stator resistance with a multimeter?
- How do I test stator AC voltage output?
- How do I read and compare my results to specs?
- What advanced tests help with tricky problems?
- When should I replace a stator?
- What does it cost and how much can I save?
- References
- FAQ
- Key takeaways
You turn the key. The engine cranks. No spark. I’ve been there. It feels like a dead end. In this guide I’ll show you how to test a stator for spark with a simple multimeter and a plan that works. You’ll learn the steps. You’ll see what the numbers mean. You’ll know when to repair and when to replace. Read this if you want your motorcycle, ATV, lawnmower, or outboard to fire up without guesswork.
Problem: No spark leaves you stuck.
Agitate: Shops can charge a lot. Wrong parts waste money.
Solution: Follow this clear test. Compare your readings to your service manual. Fix the real issue fast.
What is a stator and why does it matter for spark?
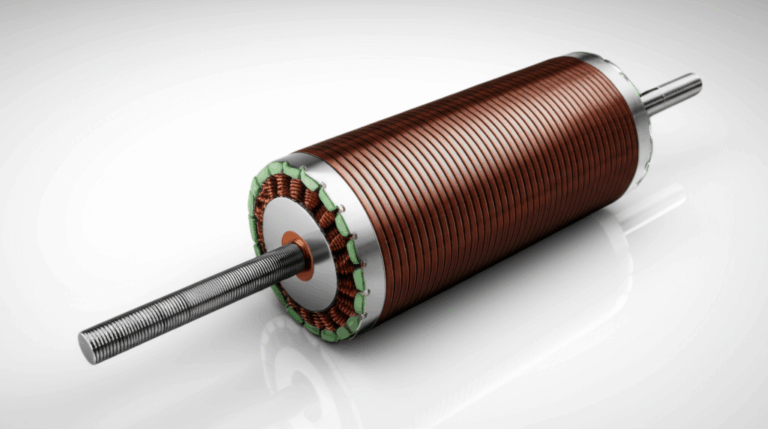
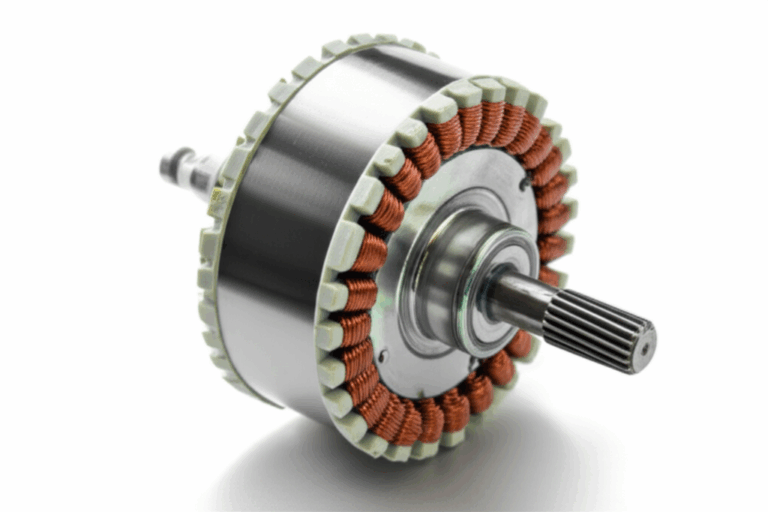
The stator sits under the flywheel. Magnets spin past copper windings. This motion makes a magnetic field and current by induction. That current feeds your CDI (Capacitor Discharge Ignition) or ignition module. The CDI then charges and dumps energy into the ignition coil. The coil boosts it to high voltage. The spark plug fires. No good stator output means no spark.
Many engines use two parts on the stator for spark. The exciter coil makes power for the CDI. The pickup coil (or pulse coil) tells the CDI when to fire. Some systems also use the stator for charging. That power goes to the rectifier/regulator. A bad stator can stop spark. It can also stop battery charge. That is why you test both resistance and AC voltage.
When the stator and magneto are healthy you get steady AC volts output. You get the right ohms on the coils. The wiring harness shows good continuity. The ground wire has solid ground circuit integrity. The kill switch and ignition switch don’t kill the signal by mistake. I’ll help you check all of that.
What signs point to a bad stator?
I look for patterns. These signs point to stator trouble:
- No spark troubleshooting leads to the stator after you check simple parts.
- The engine cranks no spark or the engine cranks but won’t start.
- You see weak spark diagnosis issues or intermittent spark issues.
- The battery not charging. That can connect to the stator too.
On bikes you may see motorcycle stator diagnosis tips in forums. For off-road rigs you may try an ATV no spark fix. On yard gear you might run a lawnmower magneto test. On the water you may need an outboard motor stator test. Sled owners fight snowmobile stator problems in the cold. In boats you use marine engine ignition troubleshooting steps. These all share the same core idea. Test the stator coils. Compare to the specs.
You can also spot common stator failures like an open stator winding, a shorted stator coil, or ground fault diagnosis issues. You might see burnt spots. You might see flywheel rub marks. You might find connector corrosion issues. Each clue points to the next test.
What tools do I need to test a stator?
You don’t need a toolbox the size of a truck. You need a few good tools and the exact data for your machine.
- A digital multimeter with Ohms and AC Volts. It should do AC current measurement, DC current measurement, voltage drop testing, and testing for continuity with multimeter.
- A spark tester (inline) to check spark at the plug.
- Your service manual or workshop manual stator page with specs. Look up ohms specifications stator, resistance values for stators, and the wiring diagram.
- Basic hand tools. Screwdrivers. Wrenches. A torque wrench for reassembly.
- Safety glasses and gloves.
- Optional: test light, oscilloscope (advanced diagnostic tool) if you want pro-level views of the signal.
You’ll also check the spark plug wire, spark plug boot, and the spark plug cap. You might test the primary coil resistance and secondary coil resistance on the ignition coil. Keep a spark plug gap tool handy. You may need dielectric grease for clean connections. Stay neat. Stay safe.
What safety steps should I take first?
I keep safety first. The ignition can bite. Do this before any test:
- Make sure the engine is off and cool.
- Set the machine on a stand. Lock the brakes. Secure the equipment.
- If you work on the charging side disconnect the battery.
- Keep fingers clear of the flywheel and crankshaft while cranking.
- Don’t touch bare terminals while testing high voltage generation parts.
If you follow these steps you won’t get shocked. You also won’t damage the CDI, coil pack, or stator. Slow down. Think first. Then test.
What quick checks should I do before testing the stator?
I see many small engine repair no spark cases that were simple. Do these checks first. They save time and money.
- Check the kill switch and ignition switch. Make sure the kill switch circuit test passes.
- Pull the spark plug. Do a spark plug electrode check. Clean or replace it. Set the gap with a spark plug gap tool.
- Do a spark plug wire test and spark plug cap test. Check for cracks.
- Inspect the wiring harness. Look for rubs and broken connectors. Do a wiring harness inspection.
- Check ground circuit integrity. Clean the ground wire and frame contact.
- Verify fuel flow. We focus on spark today. Still make sure fuel delivery isn’t the only problem.
- Do a battery voltage drop test if the starter seems slow. Low RPM (Revolutions Per Minute) while cranking will drop stator output.
If the basics pass you can dig into the stator. This is wise troubleshooting spark issues. It sets you up for a clean test.
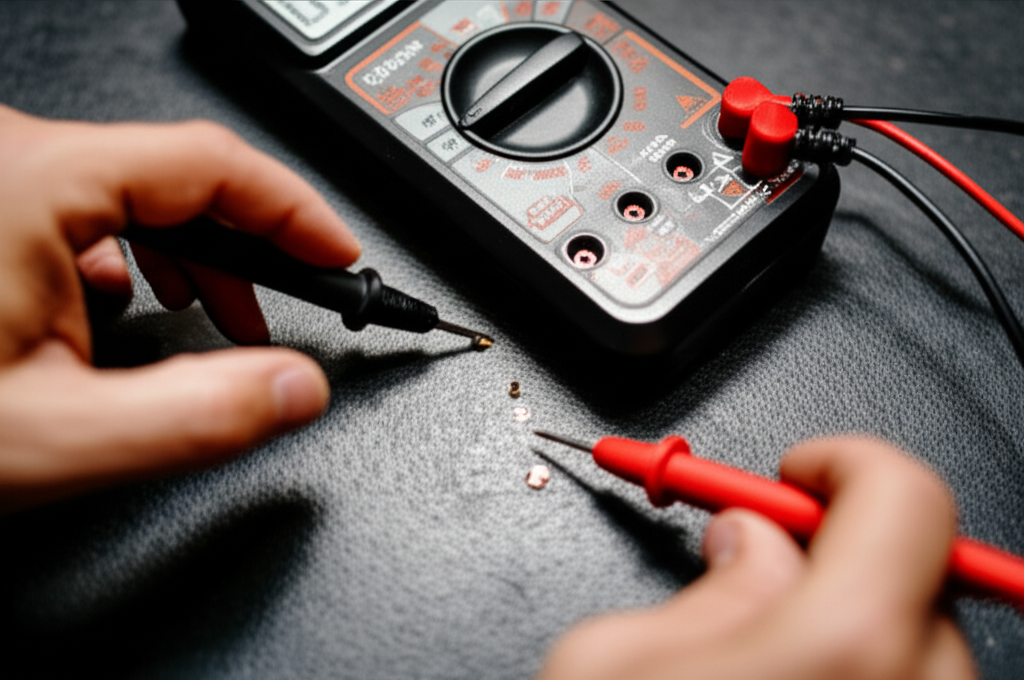
How do I test stator resistance with a multimeter?
This is your DIY stator test instructions for resistance. It’s the most common do-it-yourself test.
Step 1: Locate the stator wires
- Remove the cover to access the flywheel and stator area if needed.
- Find the stator wiring diagram in the manual. Identify the exciter coil leads and the pickup coil leads.
- Note the wire colors and the pin numbers on the connectors.
Step 2: Set your multimeter
- Turn the meter to Ohms (Ω). Pick the lowest safe range for the coil you test.
Step 3: Measure the coils
- Exciter coil: Place one lead on the exciter output wire and one on a clean engine ground.
- Pickup (pulse) coil: Place leads on the two pickup wires or from the pickup output to ground as the manual shows.
- Ground checks: Test each stator wire to ground. This finds shorts to ground.
Step 4: Compare your ohms to the book
- Use your service manual. It lists resistance values for stators and ohms specifications stator.
- Write readings down. Keep them neat. You’ll need them in the next step.
If you see “OL” or “infinite ohms” you likely have an open circuit. That points to a broken winding. If you see 0 or nearly 0 ohms you likely have a short circuit. That points to a coil that has shorted turns or a short to ground. If your numbers fall in the correct reading range the coil passes the basic test.
How do I test stator AC voltage output?
Resistance isn’t the whole story. A coil can pass ohms and still fail under load. So you also do an AC volts output stator test while the engine cranks.
Step 1: Find the right wires
- Use the wiring diagram. Identify the exciter AC output wires that feed the CDI.
- Some systems want you to disconnect the stator from the CDI or rectifier/regulator before testing. Follow the manual.
Step 2: Set your meter
- Turn the meter to AC Volts (V~).
Step 3: Crank and read
- Add a helper or use a remote starter.
- Place the meter leads across the AC output wires.
- Crank the engine. Do not start it if the wires are disconnected.
- Watch the reading while cranking at a steady RPM.
Step 4: Compare to spec
- Your service manual lists minimum AC volts at cranking speed.
- If you get low or no AC voltage you likely have a weak or failed stator.
- If you see adequate AC voltage the stator likely works. Now focus on the CDI, ignition coil, or the wiring.
This test shows if the stator makes real power during a real crank. It catches intermittent spark issues that a static ohms test may miss.
How do I read and compare my results to specs?
You must match numbers to the book. Don’t guess. Your service manual rules. That said these are common patterns.
- Infinite ohms or no AC volts: This points to an open winding or damaged wire.
- Zero ohms or very low resistance with low AC volts: This points to a shorted winding or a ground fault.
- Values outside spec but not extreme: The stator may be weak. Heat can make it worse at runtime.
- Good stator readings yet no spark: Now target CDI ignition system problems, ignition coil test no spark, or wiring harness integrity.
Here’s a quick reference table. These ranges are examples. Always use your own manual for the real numbers.
| Coil | Example Resistance Range | What it does | What a fail looks like |
|---|---|---|---|
| Exciter coil | 100–300 Ω | Powers CDI | OL = open. Near 0 = short. |
| Pickup (pulse) coil | 50–200 Ω | Triggers timing | OL or 0 = bad signal. |
| Charging coils | 0.1–1.0 Ω | Battery charge | 0 = short. High = open. |
I also check the pickup coil gap at the pickup and rotor. A bad gap can cause weak or no trigger. You can also verify ignition timing adjustment if the engine uses adjustable timing.
What advanced tests help with tricky problems?
Sometimes you need deeper checks. Here are pro-level ideas that still fit a DIY bench.
- Use an oscilloscope. You can view the pickup waveform and exciter AC ripple at cranking and idle. Look for a clean pulse from the triggering coil.
- Check AC ripple on the charging side with the scope. Big ripple can point to damaged windings or a bad rectifier/Regulator. That can stress the stator.
- Do a voltage drop testing of grounds across the frame. High drop means poor ground circuit integrity.
- Inspect the flywheel for damage. Broken magnets change the magnetic field. They cut output.
- Measure primary coil resistance and secondary coil resistance on the ignition coil. A bad coil can mimic a bad stator.
- Run a crankshaft position sensor test if your engine uses one along with or instead of a pickup coil.
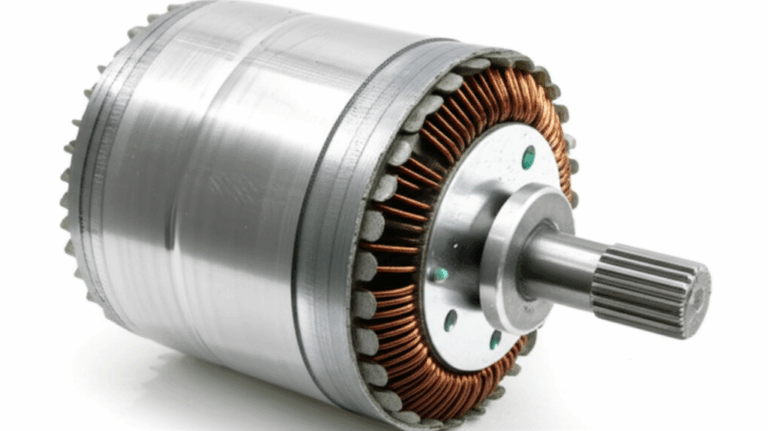
If you want the best hardware you can learn more about the quality of the core itself. The stator uses steel laminations to guide the field. Better steel makes better output and less heat. If you rebuild or upgrade you can explore the role of the stator core lamination in stable spark. The rotor matters too because magnet strength and geometry matter. You can learn how the rotor core lamination supports that magnetic path. Whole motors also use precision stacks. See how motor core laminations improve efficiency and reduce losses. All of these parts use electrical steel designed for low loss and tight tolerances. If you like materials and build quality you can dive into modern electrical steel laminations to see why they last.
When should I replace a stator?
I replace a stator when the facts say so.
- Clear failure: Infinite ohms / no voltage or zero ohms / low voltage after careful tests.
- Heat damage: Burned insulation, dark windings, or melted epoxy.
- Physical damage: Flywheel rub marks. Broken leads. Cracked bobbins.
- Ongoing issues: Readings outside spec across hot and cold checks.
- When the cost to chase it further beats the stator replacement cost.
You can buy a new stator or a rewound one. Compare cost of new stator options. Check both OEM and aftermarket. Use dielectric grease on connectors during install. Torque fasteners with a torque wrench. Verify the pickup coil gap again. Then test spark.
What does it cost and how much can I save?
Let’s talk dollars because they matter.
- Shop labor for “no start” runs $50–$150 per hour. Diagnosis can take 1–3 hours.
- A new stator can run $30–$100 for small engines. Many motorcycle or ATV stators run $100–$400 or more.
- DIY testing saves all that labor. You avoid parts darts. You only buy what you need.
You’ll also save time by using a diagnostic flow chart no spark approach. Start with basics. Test the stator. Move to CDI unit replacement or ignition module testing only if needed. Good process means saving money on repairs, extending engine life, and proper engine maintenance.
References
- Briggs & Stratton. Small Engine Repair Support and Manuals. https://www.briggsandstratton.com
- Yamaha Motors. Service Manuals and Owner Resources. https://www.yamahamotorsports.com
- Honda Power Equipment. Owner’s Manuals and Support. https://powerequipment.honda.com
- NGK Spark Plugs. Technical Resources. https://ngksparkplugs.com
- Fluke. Multimeter Application Notes. https://www.fluke.com
- Clymer and Haynes Manuals. Motorcycle and ATV Service Guides. https://www.clymer.com and https://haynes.com
These sources help you confirm specs and methods. Always follow your exact service manual for your engine.
Why does build quality of the core matter for spark?
I get this question a lot. The stator core shapes the magnetic field and reduces loss. The right silicon steel laminations cut heat and boost efficiency. This helps the exciter coil make steady power at low RPM. It helps the pickup send a clean pulse. That stability shows up as strong spark and fewer intermittent spark issues.
If you rebuild an old engine or plan an engine rebuild you may care about the stack. Makers design core lamination stacks to limit eddy currents. That keeps output high and noise low. Better stacks mean fewer common faults stator over time. They also help with prevention of stator failure. Quality here pays off down the road.
How do I put this all together in a simple plan?
Here’s the plan I use in the shop. It’s short and it works.
- Confirm the problem: No spark at the plug with a spark tester.
- Rule out simple issues: Kill switch, plug, wires, wiring harness.
- Resistance test: Exciter coil, pickup coil, and ground.
- AC voltage test: Crank and check AC volts output stator.
- Compare readings: Match the service manual.
- Decide: Stator good or bad. Move to CDI, ignition coil, or wiring if stator passes.
- Repair and retest: Replace what failed. Verify spark. Start the engine.
This flow is your troubleshooting guides for motorcycles and your ATV diagnostic procedures. It also fits boat motor repair tips and garden equipment troubleshooting. It’s a one-page map that stops the guesswork.
Real-world case: The intermittent spark that drove me nuts
One bike had spark in the morning. By noon the spark faded. Then it died. Cold ohms looked fine. The pickup coil measured inside spec. The exciter coil also looked okay. The owner had tried a new plug and even a coil. No luck.
I did the cranking AC voltage test. The exciter voltage sat lower than the manual at cranking RPM. It dipped as the engine warmed. I checked flywheel inspection for damage and found heat marks. The coil insulation had begun to fail. The stator still passed ohms. It failed in motion. We replaced the stator. The bike ran strong. This is why you test both ohms and AC volts. It’s also why you compare numbers with comparing readings to specs and interpreting multimeter results instead of guessing.
Simple theory: Why the numbers matter
You don’t need to be a scientist to win here. Think of the stator like a bike light that runs off wheel magnets. Spin the wheel and the light works. Stop the wheel and the light stops. The stator does the same. The crankshaft spins the flywheel. The magnets pass the stator windings. The coil makes current by induction. The better the core and the wire the better the output.
Ohm’s law gives you a simple rule. Low resistance means the coil may be shorted. Infinite resistance means the coil is open. The right resistance means it can work. Then the AC voltage test shows if it does work under motion. It’s like checking the battery with a load test. You need both views to be sure.
Extra tips that save the day
- Look up online stator testing resources, a video guide stator test, and forum discussions stator issues for your exact model.
- Use the exact wiring diagram and color codes from your small engine service manual.
- Check the pickup coil gap with a feeler gauge if the manual lists one.
- Clean connectors and use dielectric grease on reassembly.
- If you replace the stator check the regulator rectifier impact on stator. A bad rectifier can cook a good stator.
- If all else fails go for professional stator testing. Shops have scopes and test rigs.
Data insights that help your decision
Here’s a quick table with helpful data you can use while you test and plan repairs.
| Category | Data Point / Insight | Why it matters |
|---|---|---|
| Common failure modes | Open circuit from heat or vibration. Short circuit from insulation breakdown. Physical damage from rubbing or impact. | The ohms and AC tests are designed to find these. |
| Typical lifespan | 5–10+ years with good care. Heat and a bad rectifier/regulator can shorten it. | Older machines with no spark should get a stator test early. |
| DIY diagnostic accuracy | Ohms and AC voltage tests match the manual and give about 90–95% accuracy for bad stators. | You can diagnose at home with confidence. |
| Cost savings | Shop labor runs $50–$150/hour. DIY tests cut that to zero. | Testing first saves money and time. |
| Prevalence | Stators are a common reason for no spark or no charge. | After the plug and coil the stator is a top suspect. |
| Intermittent case | Borderline coils pass ohms cold but fail AC volts when hot. | The cranking AC test catches “sometimes” problems. |
FAQ
Q: Can a bad stator kill my battery?
A: Yes. If the charging coils fail the battery won’t charge. You’ll see lights dim and the starter slow. That’s why we check the charging side too.
Q: Do I need an oscilloscope?
A: No. A good multimeter gets you most of the way. A scope helps with weird cases like noise on the pickup or mixed signals from a failing CDI.
Q: My readings match the book. Why no spark?
A: Look at the CDI, ignition coil, spark plug wire, kill switch, and wiring harness. Check ground fault diagnosis. Also verify the pickup coil gap and ignition timing adjustment.
Q: Should I replace the CDI first?
A: No. Test the stator and coil first. Use a diagnostic flow chart no spark approach. Replace parts only when the data points to them.
Q: What about different engines like ATVs and outboards?
A: The plan is the same. Follow ATV diagnostic procedures, marine engine ignition troubleshooting, and your model’s workshop manual stator specs.
Key takeaways
- You can test a stator for spark with a digital multimeter, a plan, and your service manual.
- Do the resistance test and the AC voltage test. You need both.
- Compare all readings to ohms specifications stator from your manual.
- Rule out simple issues first. Plug, wires, kill switch, grounds, and wiring harness.
- If the stator fails you can replace it. Check stator replacement cost and choose quality parts.
- Quality stator core and electrical steel laminations help output and life.
- Use good habits: clean grounds, tight connectors, correct pickup coil gap, and dielectric grease.
- If the stator passes look at CDI, ignition coil, rectifier/regulator, and ignition module.
- Smart testing means saving money on repairs, maintaining ignition systems, and extending engine life.
- Keep learning with online stator testing resources, manuals, and pro help when needed.