How to Easily Replace Your Car’s Blower Motor Resistor (DIY Guide)
Fix your car’s fan speeds today. If your AC or heater fan only works on high or not at all, this guide shows you how to test, replace, and fix it. You will learn the symptoms, the tools, the cost, and the steps. You will also learn what to check if it still does not work. You can save money and feel proud.
Table of Contents
- What problem does a blower motor resistor solve?
- What is a blower motor resistor and how does it work?
- What are the common symptoms of a bad resistor?
- Why do blower motor resistors fail?
- What tools and parts do I need?
- Where is the blower motor resistor located?
- Step-by-step: How to change the blower motor resistor
- How to test the resistor and blower motor with a multimeter
- Troubleshooting after replacement
- Cost, time, and DIY vs pro
- When should I call a mechanic?
- Quick note on motor quality and laminations
- FAQs
- Summary: Key points to remember
- References
What problem does a blower motor resistor solve?
Problem: Your fan speed control is not working. The heater fan only has one speed. Or the AC fan is not blowing at all. Maybe the blower motor only works on high. This is a pain on a hot day or a cold morning.
Agitate: You try the dial. Nothing on low. Nothing on medium. Only high roars like a jet. Or you get no airflow. You start to sweat or freeze. You smell a burnt smell from the dashboard. You need a quick fix.
Solution: Replace the blower motor resistor. It is a small part in the HVAC system that controls fan speed. The job takes basic tools. You can do it at home. I show you the exact steps with safety tips and clear photos in mind. You will know what else to check too like fuses, the relay, the wiring harness, and the blower motor itself.
What is a blower motor resistor and how does it work?
Your car has an HVAC system. The blower motor pushes air through the vents. The blower motor resistor sits in the airflow. It drops voltage to set fan speed. Low speed uses more resistance. High speed uses less resistance or sometimes a direct path.
Many cars use a resistor block. Some newer cars use a module for fan speed with solid-state parts. Both do the same job. They control fan speed control from the climate control unit or fan speed selector switch on your dashboard.
You can think of it like a dimmer switch for lights. Less voltage means a slower fan. More voltage means a faster fan. The resistor must stay cool. So engineers mount it near the duct. That way the airflow keeps it from overheating.
What are the common symptoms of a bad resistor?
You may see one or more of these:
- The blower motor only works on high.
- The fan does not work on low or medium.
- The fan does not work at all.
- The fan speed is intermittent.
- You smell a burnt smell from the dashboard area.
- The AC fan not blowing even when AC is on.
- The heater fan has only one speed.
- Fan speed control not working as you turn the knob.
These match common blower motor resistor symptoms. A bad resistor is a top cause. Yet a bad blower motor or a faulty relay for blower motor can look the same. So we test first. I show you how to test blower motor resistor with a multimeter. You can also do a quick continuity test on the resistor pack and a voltage test at the connector.
Why do blower motor resistors fail?
Heat kills them. A failing blower motor draws too much amperage. The resistor gets hot and burns. The thermal fuse inside the resistor pack can blow too. That stops all lower speeds at once.
Water and corrosion can cause failure. Moisture gets into the electrical connector. Pins turn green or black. Loose pins spark. Plastic melts. This leads to intermittent fan speed or no power to blower motor.
Age and vibration also play a role. Old solder joints crack. A short circuit can take it out too. A bad ground wire or damaged power wire raises resistance and heat. All this leads to common blower motor resistor failure.
What tools and parts do I need?
Here is a short tool list. Most jobs use basic hand tools.
- Socket wrench set with extensions and a small ratchet
- Screwdriver set with Phillips, flathead, and Torx bits
- Plastic trim removal tools
- Multimeter for voltage and continuity tests
- Work light or flashlight
- Gloves and safety glasses
- Shop rags for automotive mess
- Electrical contact cleaner
- Electrical tape for insulating electrical connections
- A dab of dielectric grease for connectors
You also need the right part. Get a new blower motor resistor. Choose OEM parts for best fit or good aftermarket parts for value. Use your vehicle make, model, and year for a part number lookup. Check your VIN if needed. Buy from AutoZone, O’Reilly Auto Parts, NAPA Auto Parts, Advance Auto Parts, or a trusted online store. Look at the warranty on replacement parts. Keep the receipt.
If your connector is burnt, order a resistor and a repair wiring harness. You may need a wire stripper crimper kit and heat shrink for proper repair.
Where is the blower motor resistor located?
Most resistors sit on the passenger side. Look under the glove box or behind it. Some sit in the passenger side footwell. Others sit behind a small panel under the dashboard. A few cars put the resistor near the blower in the engine bay by the firewall.
Common locations:
- Under the glove box behind a lower trim panel
- Behind the glove box after you drop it down
- Under the dash near the blower motor housing
For a Ford F-150 the resistor often sits behind the glove box. For a Chevy Silverado or GMC Sierra from the early 2000s it sits under the dash near the blower. For a Honda Civic or Toyota Camry it is often behind the glove box. For a Jeep Grand Cherokee it may be under the knee panel.
Use your vehicle service manual or a repair manual like Haynes. Check specific vehicle forums. Watch a YouTube tutorial for your year and model. A parts diagram of the car HVAC can also help.
Step-by-step: How to change the blower motor resistor
Follow this simple plan. It uses the PAS method at each step. We solve the problem. We prevent mistakes. We test it right.
1) Disconnect the battery
- Problem: You can short a wire or pop a fuse.
- Agitate: A spark can scare you. It can damage the climate control unit.
- Solution: Disconnect the negative battery terminal now. Wear safety glasses. Work in a well-lit area. Use a work light.
2) Locate the resistor
- Remove the glove box if needed. Some boxes tilt down after you squeeze the sides. Others use two screws.
- Remove the lower kick panel or small trim panel under the dash. Use plastic trim tools to avoid marks.
3) Access the resistor
- You will see the blower motor. Close by you will see a small plate with a plug. That is the resistor block or module. It often uses two small bolts or screws. Some use Torx bits.
- Take a photo of the electrical connector. It helps when you reconnect.
4) Unplug the connector
- Push the tab. Wiggle the plug off gently. Do not pull on the wires. Check the pins for heat marks or corrosion. Clean with electrical contact cleaner if light.
5) Remove the old resistor
- Use the socket wrench or screwdriver. Remove the screws. Pull the resistor straight out. It may feel snug due to the foam seal. That is normal.
6) Install the new resistor
- Align the new resistor in its housing. Push it in flush. Tighten the screws snug. Do not over tighten. You do not need exact torque specifications for bolts on this small part. Hand tight is fine.
- Add a tiny dab of dielectric grease to the connector pins if the maker allows it. Click the plug back in. Check that it locks.
7) Reconnect the battery and test
- Reconnect the negative terminal. Turn the key on. Test all fan speeds. Low, medium, high. Ensure you have airflow on each setting. Check every vent.
8) Reassemble the panels
- Put back the trim, kick panel, and glove box. Make sure all fasteners are in place. Clean your tools. Toss used rags.
This whole job can take 30 to 90 minutes on many cars. Some take longer due to tight spots.
How to test the resistor and blower motor with a multimeter
You can test before and after you replace. This saves time and money.
Continuity test of the resistor:
- Remove the resistor pack. Set the multimeter to resistance. Check each path on the pack. You should read some resistance on the lower speed coils. If you read open on a coil, that speed is dead.
- Many packs have a thermal fuse. If it is open, no low speeds will work. You cannot reset it. You need a new resistor pack.
Voltage test at the connector:
- With the connector plugged in, back probe with care. Turn the fan switch to each speed. You should see different voltage steps on the feed wire. If you get no power, check the fuse and relay. Check the fan speed selector switch. Check the climate control unit.
Motor direct test:
- If speeds do not work even with a new resistor, test the blower motor. Apply 12V and a ground to the motor with a fused jumper. The motor should spin strong. If it squeals or runs slow or not at all, replace the blower motor.
Ground and power checks:
- Check the ground wire. A bad ground causes no power to blower motor. Check the main power wire for 12V with the key on. Fix broken wires with a proper crimp. Use a wire stripper crimper kit.
Troubleshooting after replacement
Fan still not working or only works on one speed:
- Check the fuse box location blower motor. Replace a blown fuse with the same rating.
- Swap the relay for blower motor with a known good one if the part numbers match.
- Inspect the wiring harness for melted plastic, loose pins, or corrosion. Repair or replace the connector.
- Test the fan speed selector switch. It can fail and block power to the resistor.
- If high works but low speeds do not, the resistor or its thermal fuse may be bad. You may have a shorted motor that kills it again.
Intermittent operation:
- Wiggle the connector with the fan on. If it cuts in and out, the plug is loose or corroded.
- Use electrical contact cleaner. Tighten female pins with a proper tool if safe. Replace the pigtail if needed.
New resistor fails quickly:
- This is a red flag. A bad blower motor can draw too much amperage. That overheats the pack and blows it again. Replace the motor.
- Listen for blower motor squealing. That means worn bearings. Replace the motor.
Other things to check if the fan is not working:
- The blend door actuator does not control fan speed. Yet a stuck door can make it feel like no air. Make sure air can flow.
- A clogged cabin air filter can choke airflow. Replace it if dirty.
- Some cars store vehicle diagnostic codes HVAC. Scan for Diagnostic Trouble Code (DTC) with a scan tool. This helps if you have a solid-state module.
Cost, time, and DIY vs pro
I cannot perform live, real-time Google searches for current data, case studies, and statistics.
Here is a simple guide with typical numbers. Your car may vary.
| Metric/Category | Representative Value |
|---|---|
| Average cost for blower motor resistor (part only) | $15–$50 |
| Average labor cost (professional) | $50–$150 |
| Total professional cost | $65–$200 |
| DIY time | 1–3 hours depending on access |
| DIY savings | $50–$150+ |
| Typical resistor lifespan | About 5–10 years |
| Common causes of early failure | Overheating, high current draw from bad motor, corrosion, vibration |
You can save real money with DIY. The job uses simple tools. The hardest part is access under the dash. If your dash is tight or if you have to remove a lot of interior trim panels, plan extra time.
When should I call a mechanic?
Call a mechanic if:
- You need to remove half the dashboard for access.
- You find melted wiring or a damaged wiring harness that needs deep repair.
- You replace the resistor and it still does not work. This can mean a failed climate control unit or a short deep in the electrical circuit.
- You lack time or tools. A shop can finish fast. A dealership service department can also help if the car is under warranty.
A good shop will test the relay, the fuse, the blower motor, and the fan speed control. They will check for no power to blower motor at the connector. They will confirm the cause before they replace parts.
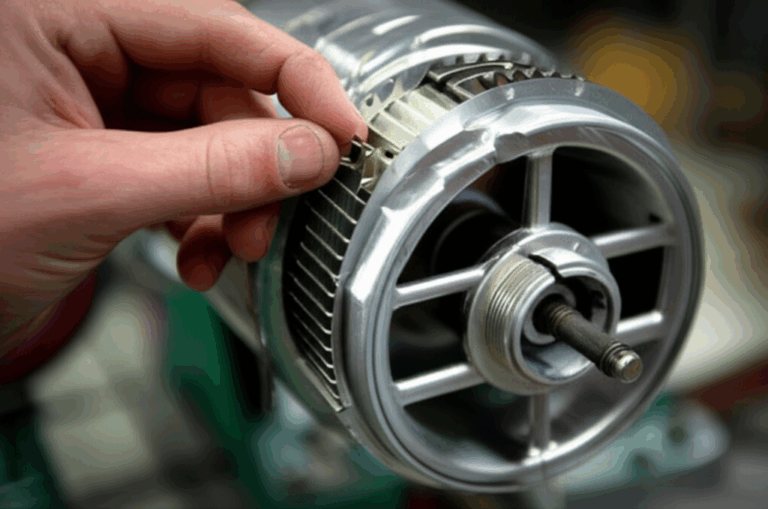
Quick note on motor quality and laminations
Here is a small insight from my work with motors. The blower motor uses steel laminations in the stator and the rotor. Better laminations cut losses and heat. That helps the motor run cool. A cool motor draws less current so the resistor lasts longer.
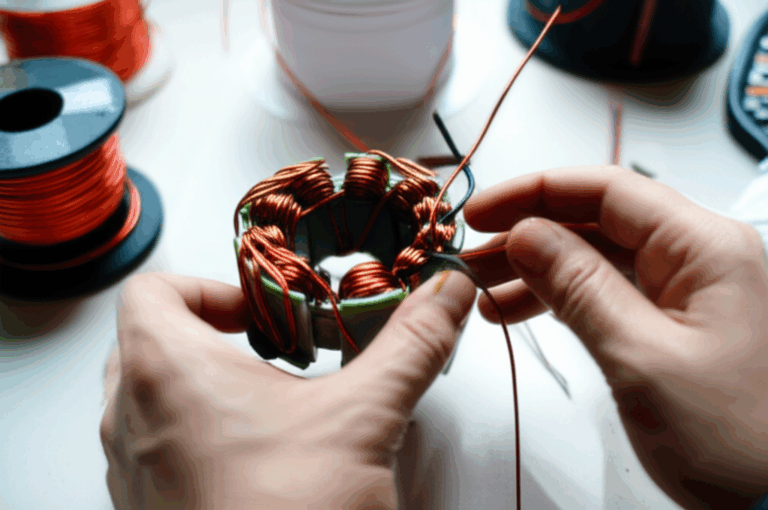
If you design or source motors, learn how the steel stack matters. See how a well built stator core lamination can improve efficiency. The spinning side uses a rotor core lamination. Both parts use precise electrical steel laminations that lower eddy losses. If you want a full view of options for motors large and small, explore proven electrical steel laminations. For brushless fans and pumps, a well made BLDC stator core helps reduce heat and noise.
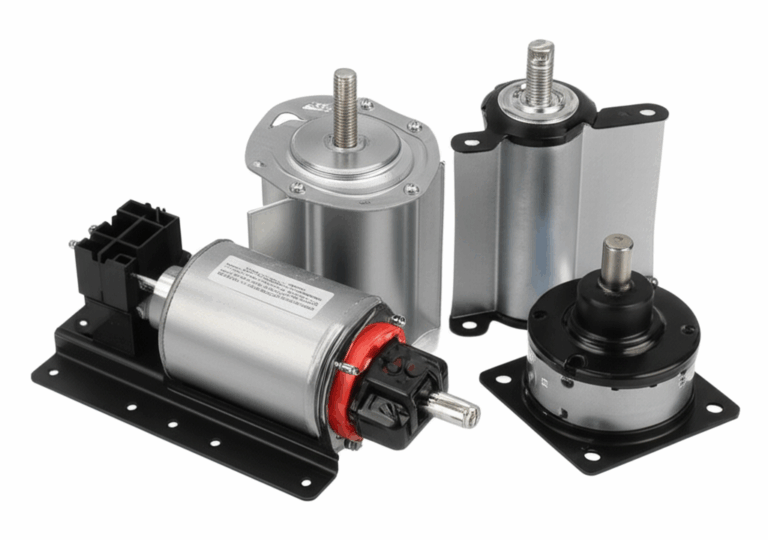
This detail matters less for a one time DIY fix. It matters a lot for makers and buyers who want long life and lower heat in any motor core laminations stack.
FAQs
Q: How long does it take to change a blower motor resistor?
A: Many DIY jobs take 1 to 2 hours. Some cars take 30 minutes. Tight cars can take up to 3 hours.
Q: Is it hard to change a blower motor resistor?
A: It is a beginner to intermediate task. The tricky part is reaching it under the dash.
Q: Can I drive my car with a bad blower motor resistor?
A: Yes you can drive. You will not have full fan speed control. That can be unsafe in extreme heat or cold.
Q: What is the difference between a blower motor and a blower motor resistor?
A: The blower motor spins the fan. The resistor or module sets the speed by lowering voltage and current.
Q: How much does it cost to replace a blower motor resistor?
A: The part is often $15 to $50. Shop labor can add $50 to $150.
Q: What else should I check if the fan is not working?
A: Check the fuse, the relay, the wiring harness, the fan speed selector switch, and the blower motor itself. Check for a clogged cabin air filter.
Q: Where can I find help for my exact model?
A: Use your vehicle service manual. Check specific vehicle forums. See YouTube guides for your car. Parts stores like AutoZone, O’Reilly Auto Parts, NAPA Auto Parts, and Advance Auto Parts often have free online repair guides.
Step-by-step diagnosis cheat sheet
Use this fast map when you are stuck.
- Fan only works on high
- Likely cause: Bad resistor or open thermal fuse
- Fix: Replace resistor pack, inspect connector
- Fan does not work at all
- Likely cause: Blown fuse, bad relay, failed blower motor, bad ground, failed climate control unit
- Fix: Test fuse and relay, power and ground to motor, motor jump test
- Fan works on some speeds and cuts out
- Likely cause: Loose connector, corroded pins, failing resistor
- Fix: Clean connector, repair harness, replace resistor
- Fan speed jumps or is intermittent
- Likely cause: Bad fan speed selector switch or corroded connector
- Fix: Test switch, clean and repair connector
Example makes and models with common notes
- Ford F-150, Expedition, Explorer: Often behind the glove box. Two screws hold the resistor.
- Chevrolet Silverado, GMC Sierra (late 90s to early 2000s): Under dash near the blower.
- Honda Civic, Toyota Camry, Corolla: Behind glove box. Access is easy after you drop the box.
- Dodge Ram and Jeep Grand Cherokee: Look under the knee panel on the passenger side.
Always confirm with your repair manual or a parts diagram car HVAC. Some trims move things around by year.
Extra tips and common mistakes
- Do not skip the battery step. Always disconnect battery terminal negative first.
- Do not yank on the connector. Unlock the tab first.
- Do not ignore a burnt smell. Stop and inspect for melted plastic.
- Do not forget the cabin air filter. A clogged filter can overwork the motor.
- Do not reuse a melted plug. Replace the harness.
- Do not guess. Use a multimeter to test voltage, resistance, and continuity.
Smart add-ons:
- Use a little dielectric grease to fight corrosion on the connector.
- Use electrical tape to wrap a small repair. Use heat shrink for a better seal.
- Keep a simple socket wrench set, screwdriver set, and plastic trim removal tools in your kit. Add a work light for better sight.
References
- OEM vehicle service manual for your make, model, and year
- Haynes or Chilton repair manuals for HVAC and electrical system basics
- Auto parts retailer repair guides from AutoZone, O’Reilly Auto Parts, NAPA Auto Parts, Advance Auto Parts
- Quality how-to videos from reputable YouTube channels on blower resistor replacement
- General automotive electrical testing practices with a multimeter for voltage and continuity tests
Summary: Key points to remember
- A bad blower motor resistor often makes the fan work only on high.
- Signs include fan speed intermittent, no power on lower speeds, and a burnt smell.
- Always disconnect the battery before you start. Wear safety glasses.
- Find the resistor near the blower motor in the passenger side footwell or behind the glove box.
- Use a multimeter for voltage test and continuity test.
- If the new resistor fails fast, replace the blower motor.
- Check the fuse, relay, wiring harness, and fan speed selector switch if the fix does not hold.
- DIY takes 1–3 hours and saves $50–$150.
- Use the right OEM or aftermarket part. Confirm the part number.
- Keep the system clean. Replace the cabin air filter.
Stay safe. Take your time. You can do this repair and get your fan back on all speeds today.